

Appearance
Custom Fields
Introduction to storing custom data
By default, Secure Clinic records the name and date of birth of your clients, along with their email, phone number and address. Almost all businesses will want to expand on this to capture data relevant to their day-to-day operations. You can do this through custom data fields.
Viewing your custom fields
To view your currently active custom fields, log in as a user with administrator privileges. Then, in the menu, click Settings. Find Patient Fields in the System Settings section, then click GO. A list of your currently active custom fields is displayed:
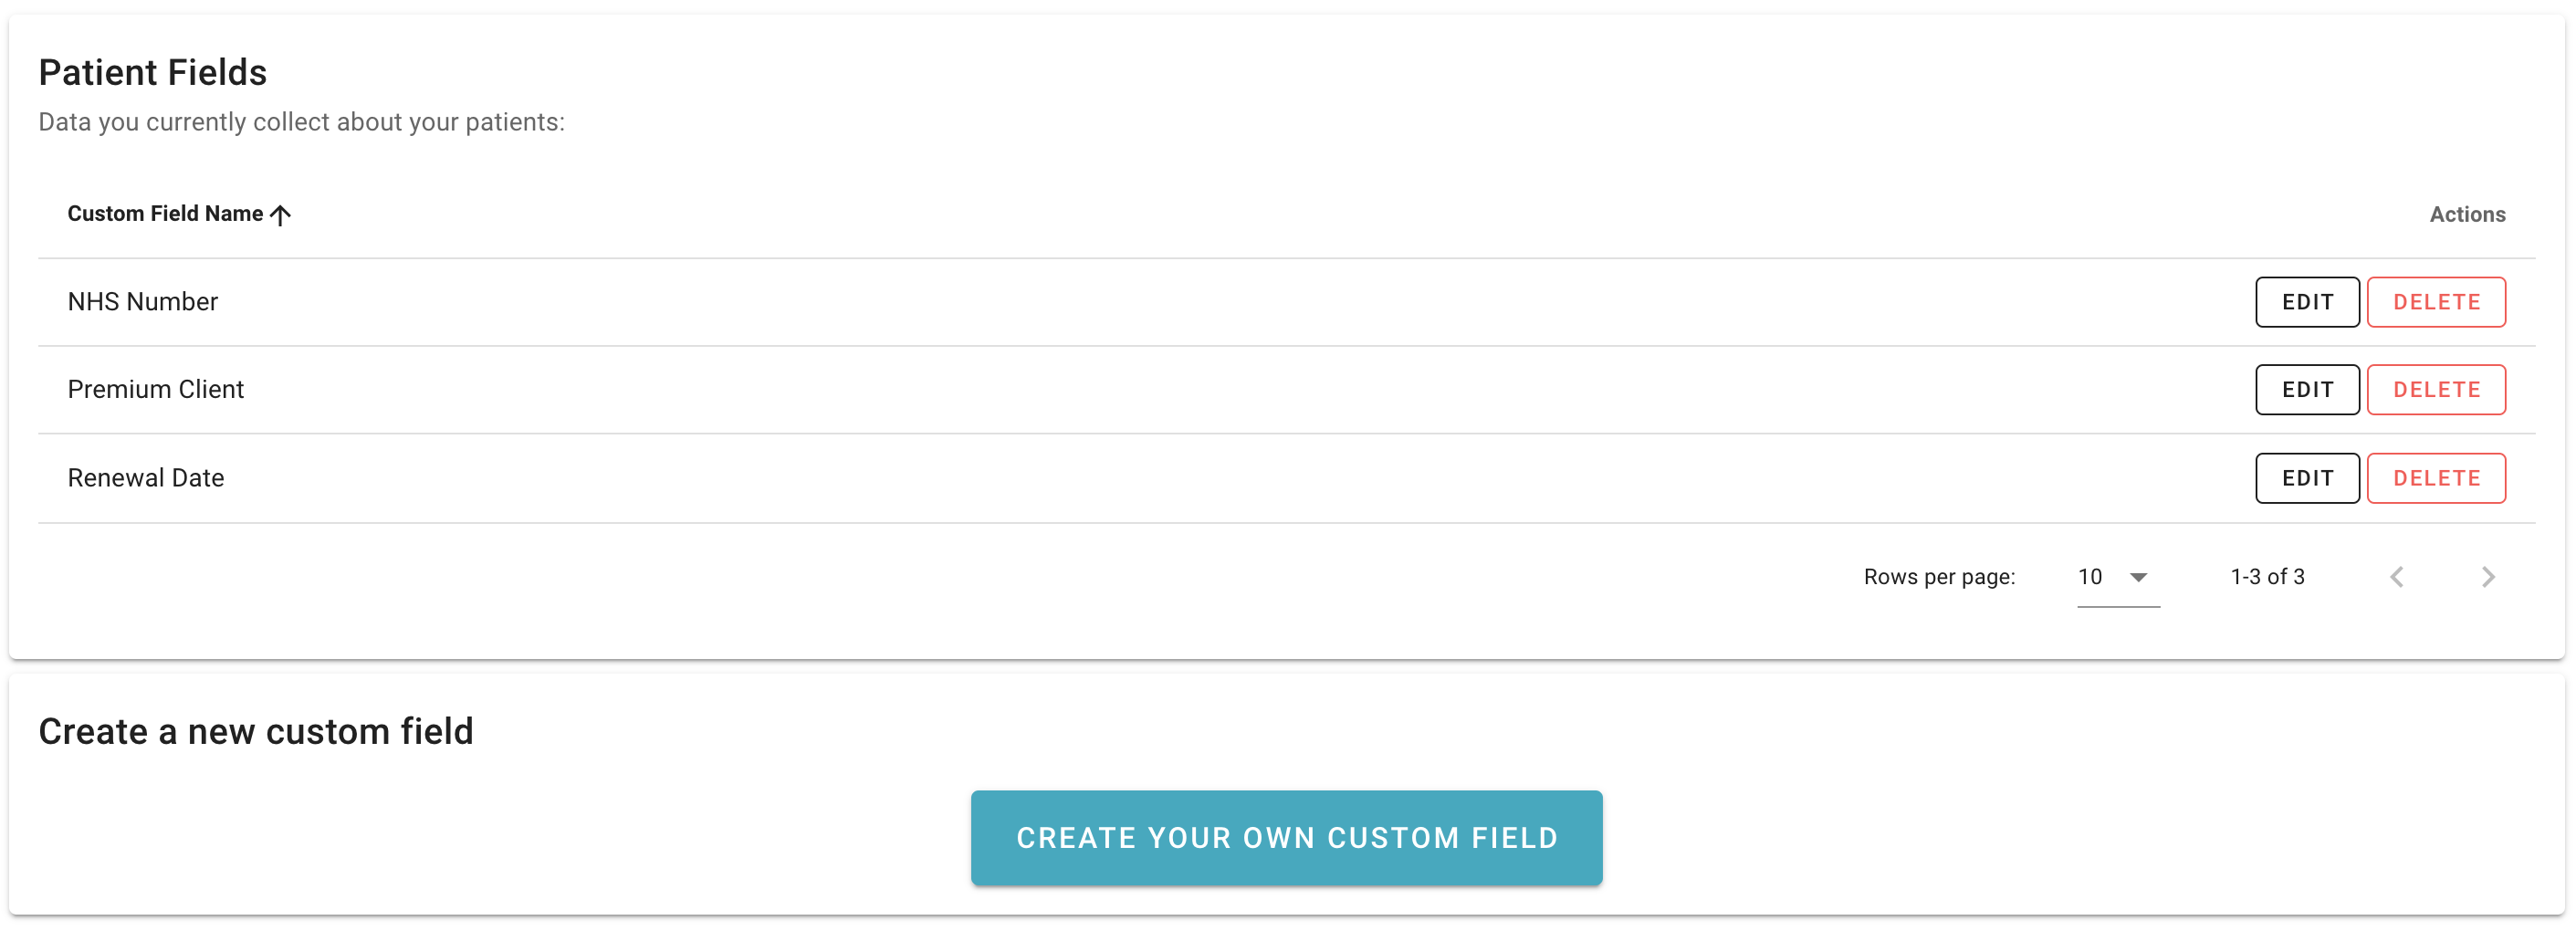
Custom fields list.
Creating a new custom field
You can create a new custom field from the settings page accessed above. First, pick what type of data you want to collect from the available types:
| Type | Description | Example uses |
|---|---|---|
| Text Field | Single line of text | External ID numbers, Key worker names, Spoken language |
| Longer Text | Multiple lines of text | Miscellaneous notes, Addresses |
| Date | A calendar date | Expiry of a service, Date of vaccination, Other milestones |
| Yes/No | A value representing a yes/no, true/false or on/off | Active customer, Premium customer, Needs translator, Completed treatment |
| Item From List | Select one value from a list | Gender, Lead practitioner name, Disease category |
| NHS Number | A valid 10 digit NHS number | NHS Number |
| Number | A number, with optional limits and a unit | Weight, Blood pressure, Session count, Pain score |
After selecting which type of data you want to store, you are asked for further information including a descriptive name. Only the name of the field can be changed later, so be sure to choose the correct type on this page. If you tick the 'required' box, users will receive an error if they do not provide this data when creating or editing a patient.
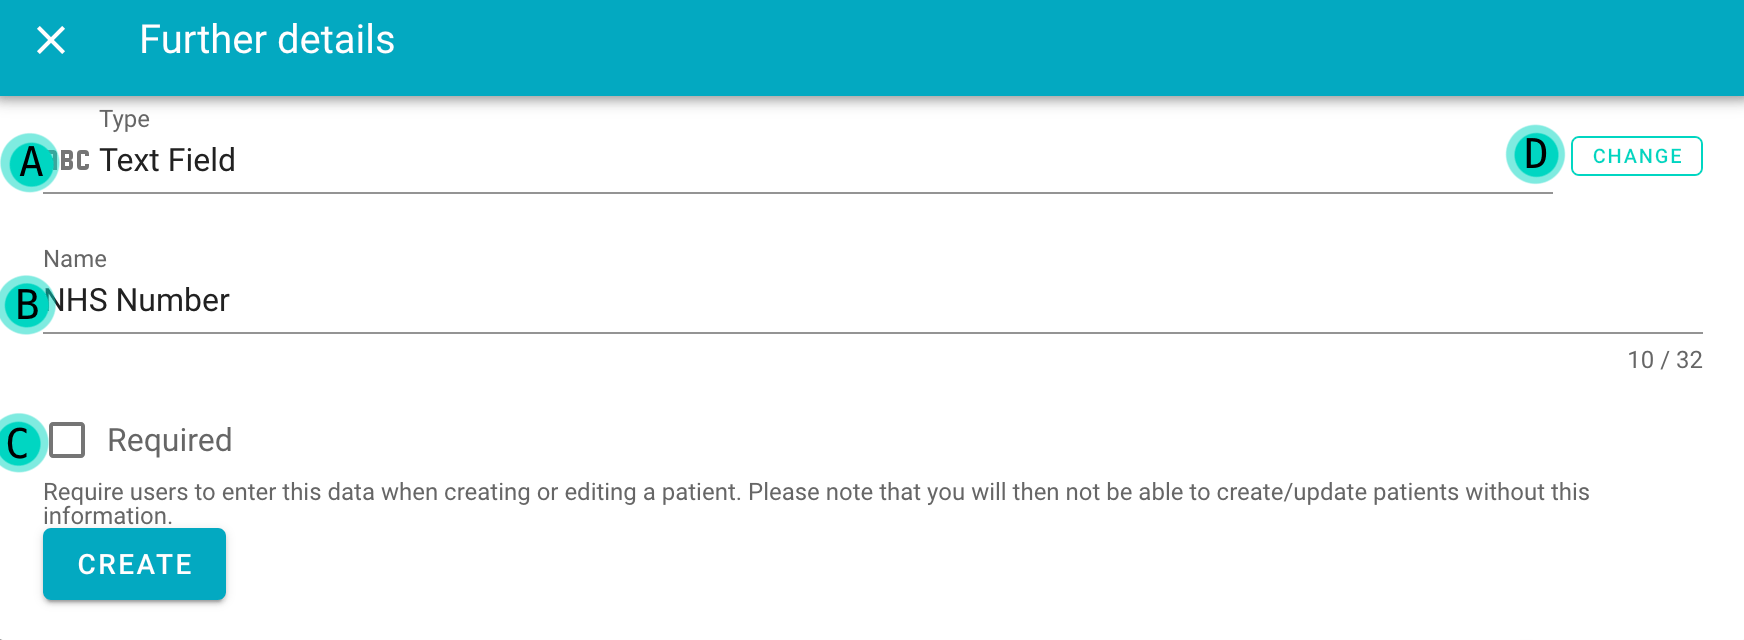
- Choose a text field to represent an external ID number
- Provide a clear label
- Decide if a field is required or not
- Change the type of the field to something else
Setting up number fields
Choosing the Number type lets you record a measurement rather than free text. Decimals are accepted but never required, so both 3 and 72.45 are valid entries.
You can optionally set:
- a minimum value and a maximum value — anyone entering data outside the range you set will be shown an error and cannot save, which is useful for catching typos in clinical measurements
- a unit, such as
kg,cmormmHg— this is shown next to the value wherever it appears, but it is not part of the stored number, so you can change it later without touching your existing data - whole numbers only — tick this for a field that can only sensibly be counted, such as a number of sessions or a pain score out of 10. Anyone entering a decimal is shown an error and cannot save. Leave it unticked for measurements such as a weight of
72.4
Leave any of these blank if you do not need them.
Viewing a number's trend over time
Number fields keep the same full audit history as every other field, but when you click the history icon next to one you will also see a graph of how the value has changed over time, plotted from every recorded change. The complete audit history, showing who made each change and when, is listed underneath the graph as usual.
A patient needs more than one recorded value before there is a trend to draw — until then the history page explains that a graph will appear once the field has been recorded again.
Setting a default value
For every type of field except NHS Number, you can provide an optional default value. When set, this value is used to pre-fill the field whenever a member of your team enters custom data for a patient that does not yet have a value saved for it — for example on the additional data form shown after a staff member creates a new patient. This saves time when most patients share the same value (such as a status of "Active" or a particular practitioner).
Defaults only apply to newly created data. Setting or changing a default never alters information that has already been saved against your existing patients, and you can always change the pre-filled value before saving. NHS numbers are unique to each patient, so they cannot be given a default.
Defaults are not applied on the self-registration form, since that data is entered by the patient themselves — they always start from a blank field.
You can add, change or remove the default value at any time from the field's edit screen.
Setting up select fields
If you choose the Item From List option, you can set the options that your users will choose from. Enter them in the box provided and press enter or click add. To remove an item, click the delete button next to it.
By default the options are kept in alphabetical order. If your list has a natural order of its own — such as days of the week — turn off Sort alphabetically. New options are then added to the end of the list, and you can drag the options into the order you want your users to see them in. Turning Sort alphabetically back on puts the list into alphabetical order again.
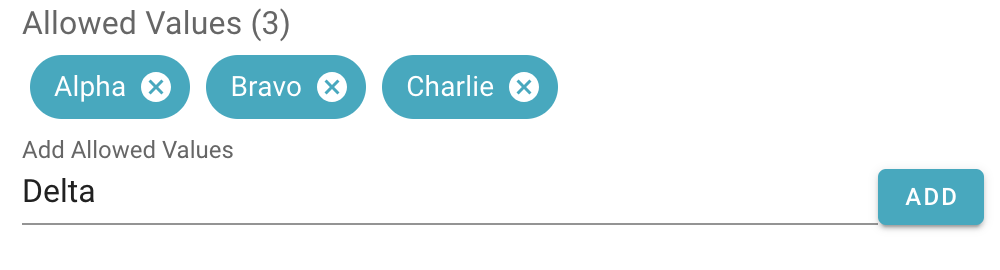
Setting up a list for storing your custom field data (item from list type).
Using custom data for your patients
Custom data fields can be viewed and edited from the patient information page. Open a patient, click Patient information then Additional data to view your custom data for the patient.
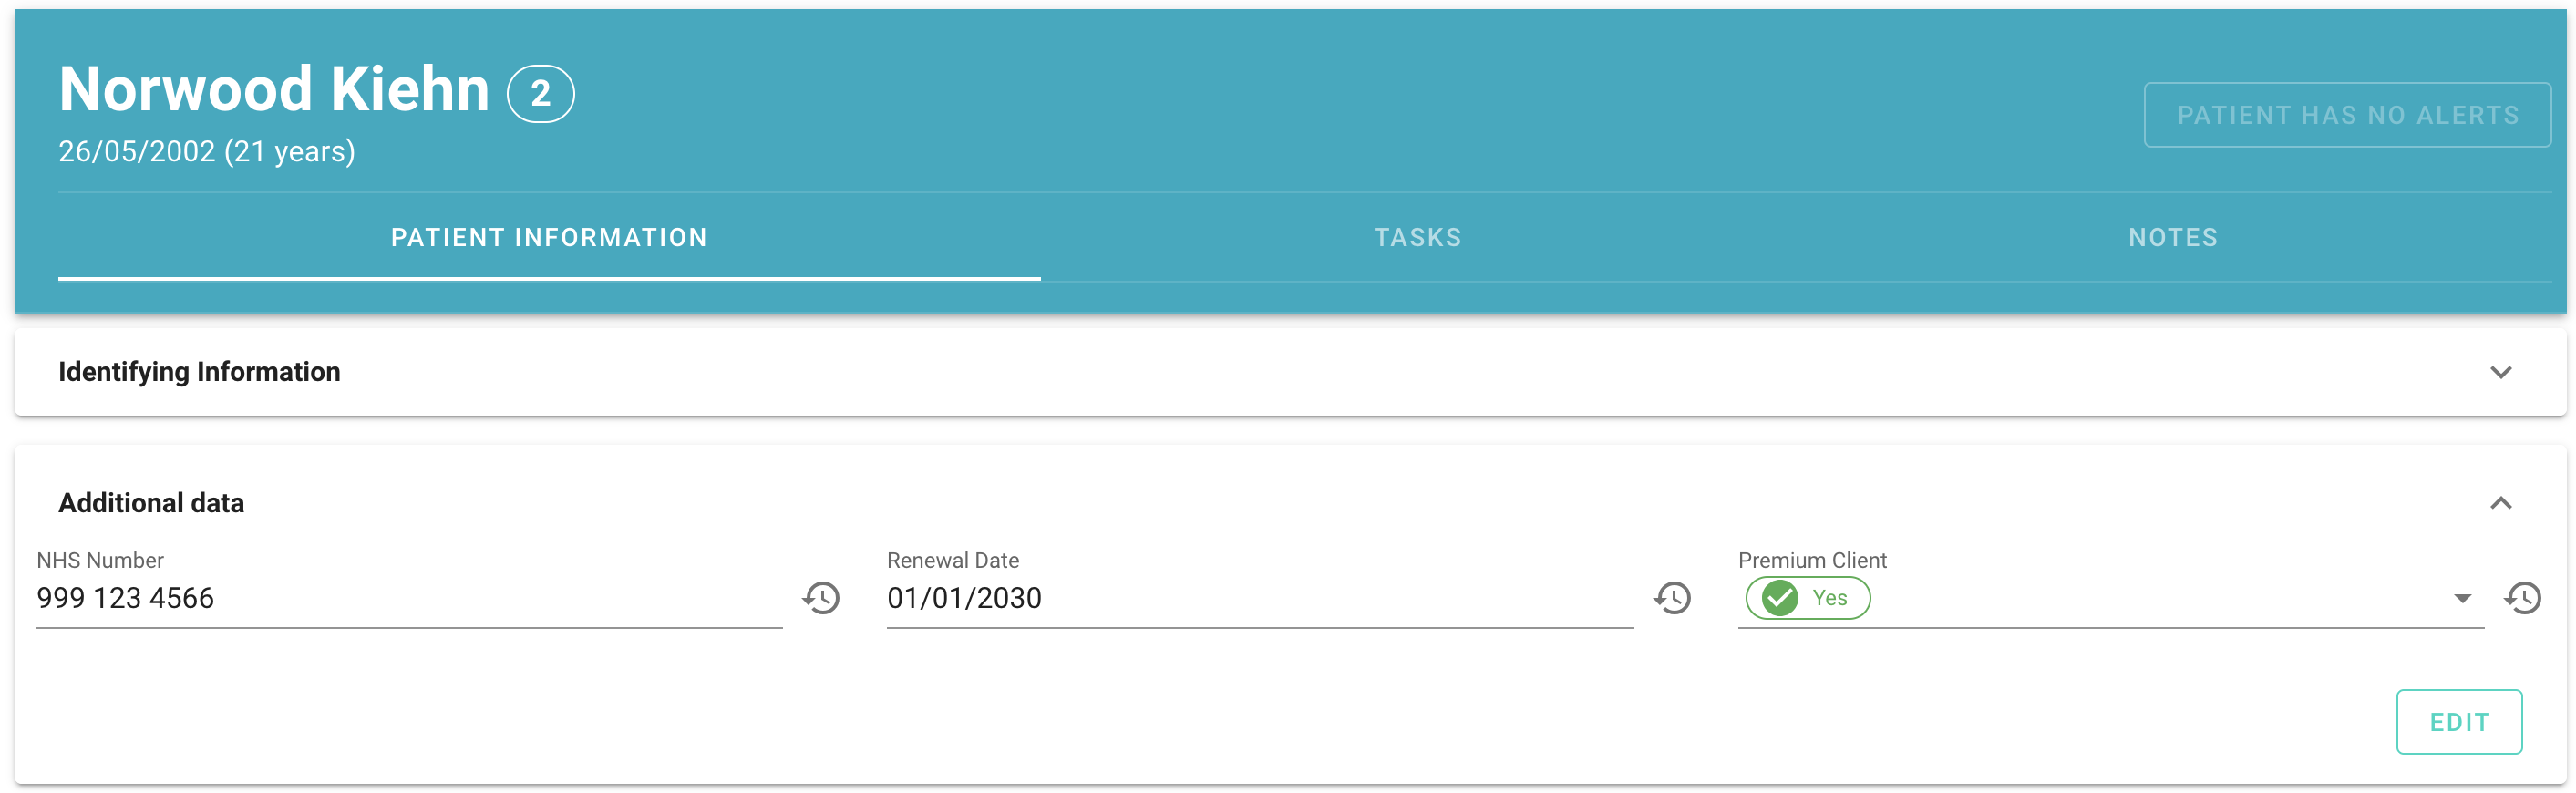
The expanded additional data section in the patient record.
Like all health data recorded by Secure Clinic, any changes or deletions of custom field data are logged for review. You can access these by clicking the history icon next to the field. Users who can edit the data can also revert a recorded change from that screen — see reverting changes.
When you are creating new patients, you will automatically be prompted to fill in your custom field data. If you have enabled self-registration for your clients, you can choose to ask them to provide selected custom data when they register. You can also collect custom data from existing patients by linking questions on a patient form to your custom fields — approved submissions update the patient's record automatically.